
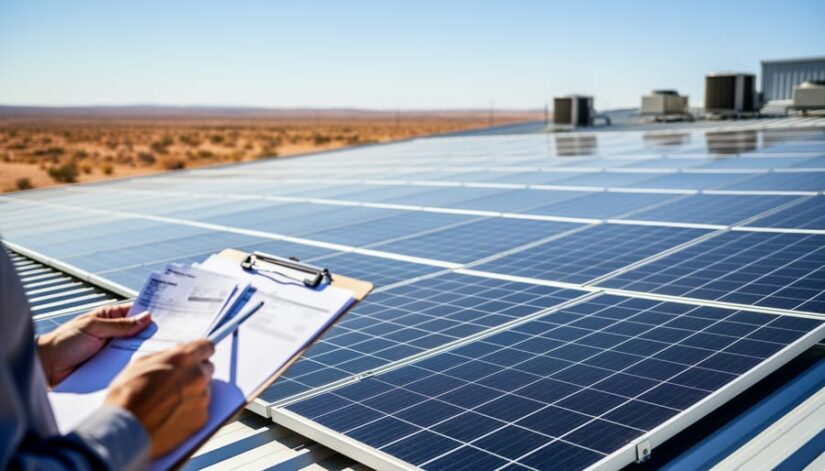
How to Calculate Solar Energy for Your Commercial Building in 5 Steps
Calculating solar energy for your facility requires three core measurements: your average daily electricity consumption in kilowatt-hours, your location’s peak sun hours, and your available roof or ground space. With these numbers in hand, you can determine whether solar makes financial sense for your operation and estimate the system size needed to offset your energy costs.
The math itself is straightforward. Divide your daily energy use by your area’s peak sun hours to find the system capacity you need, then account for efficiency losses of roughly 20 percent. A business consuming 500 kWh daily in a region with five peak sun hours would need approximately a 125 kW system. The challenge isn’t the formula but gathering accurate data and understanding how variables like seasonal fluctuations, shading, and panel degradation affect real-world performance.
Most business owners who tackle preliminary calculations discover two things quickly. First, the exercise clarifies exactly what information a professional installer will need, making conversations more productive and quotes easier to evaluate. Second, even basic calculations reveal patterns in energy consumption that often lead to efficiency improvements before a single panel goes up.
Sarah Chen, operations manager at a 50,000-square-foot warehouse in Nevada, spent an afternoon reviewing utility bills and measuring roof space. “I thought I’d be overwhelmed by the technical side,” she says, “but breaking it into steps made the whole project less intimidating. When the installer arrived, I knew our baseline numbers and could ask informed questions.”
This guide walks through the data collection process, the essential formulas, and the points where professional expertise becomes necessary. You’ll finish with a clear picture of your solar potential and the confidence to move forward.
What You Need to Calculate Solar Energy Requirements
Before you start calculating your commercial solar energy needs, gather the right information and tools to ensure accurate results. Having everything ready upfront will streamline the process and help you avoid incomplete or misleading estimates.
Your most important starting point is 12 months of utility bills from your energy provider. This full year of data captures seasonal variations in your consumption, summer air conditioning spikes, winter heating demands, and slower periods when your facility operates at reduced capacity. If you only use six months of bills, you risk sizing your system for half the story. Request detailed statements that show total kilowatt-hours (kWh) consumed each month, not just dollar amounts, since rates fluctuate and kWh gives you the actual energy baseline.
For measuring your installation space, you’ll need basic tools: a tape measure or laser distance finder for roof dimensions, a smartphone with a compass app to determine roof orientation, and either a drone or access to satellite imagery through Google Maps or similar services. These help you document the physical reality of where panels might go without climbing onto potentially unsafe roof areas at this preliminary stage.
To complete your calculations, assemble these essential items:
- Twelve consecutive months of utility bills showing total kWh usage
- Roof or ground space measurements in square feet
- Your facility’s geographic coordinates or zip code
- Peak sun hours data for your location (available from NREL databases or solar calculators)
- Photos or diagrams showing roof obstructions like HVAC units, vents, and skylights
- Access to online solar calculators or professional assessment tools
- Information about your building’s electrical panel capacity and age
Sun exposure data comes from free government resources like the National Renewable Energy Laboratory’s PVWatts Calculator, which provides location-specific solar radiation values. You’ll input your address and receive average daily peak sun hours, the equivalent hours of full-strength sunlight your location receives, which directly affects how much energy each panel can generate.
Finally, consider whether you have recent structural engineering reports for your roof. While not mandatory for initial calculations, knowing your roof’s load capacity helps determine if it can support panel weight, which typically adds 3-4 pounds per square foot for standard commercial installations.
Important Considerations Before You Begin
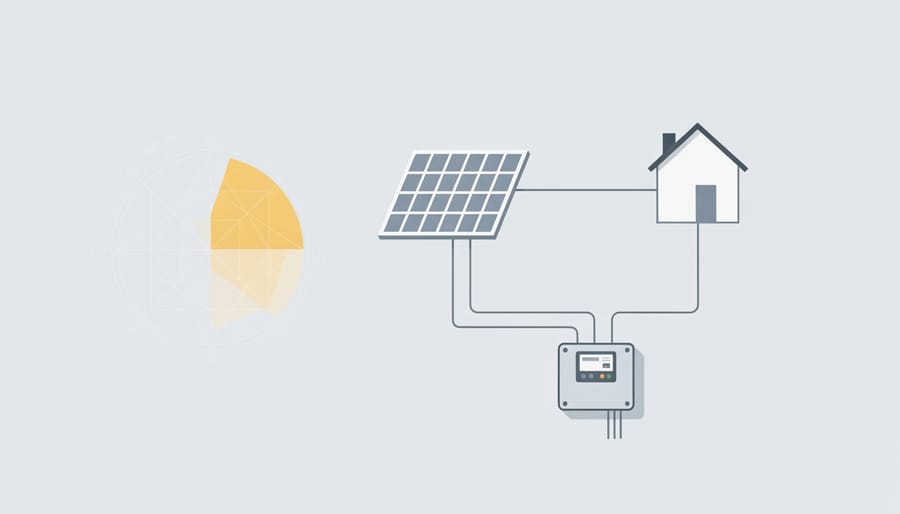
Before you begin calculating your commercial solar energy needs, you need to understand several critical safety and structural factors that can affect both your assessment and the final system installation. Skipping these considerations can lead to unsafe conditions, code violations, or costly design revisions later.
Your building’s roof must be structurally sound enough to support solar panels, which typically add 3-5 pounds per square foot including mounting equipment. Older commercial roofs or those with existing damage may require reinforcement or replacement before solar installation. Similarly, you’ll need to verify that your facility’s electrical system can handle the integration of a solar array, most commercial buildings require electrical panel upgrades or dedicated circuits to safely connect solar power.
Local building codes and permit requirements vary significantly by jurisdiction and will directly impact your system design. Many municipalities have specific setback requirements, fire access pathways, and height restrictions that reduce available installation space. Some areas also enforce strict interconnection standards that dictate how your system connects to the grid. Research these regulations early, they may change your calculation results and timeline.
You’ll also want to resist purchasing equipment before completing your calculations and obtaining professional verification. Panel technology, inverter specifications, and mounting systems must match your specific site conditions and energy needs. Premature equipment purchases often result in mismatched components, compatibility issues, or undersized systems that don’t meet your goals. Complete the calculation process first, then work with qualified installers to select appropriate equipment for your facility’s requirements.
Step-by-Step: How to Calculate Your Commercial Solar Energy Needs
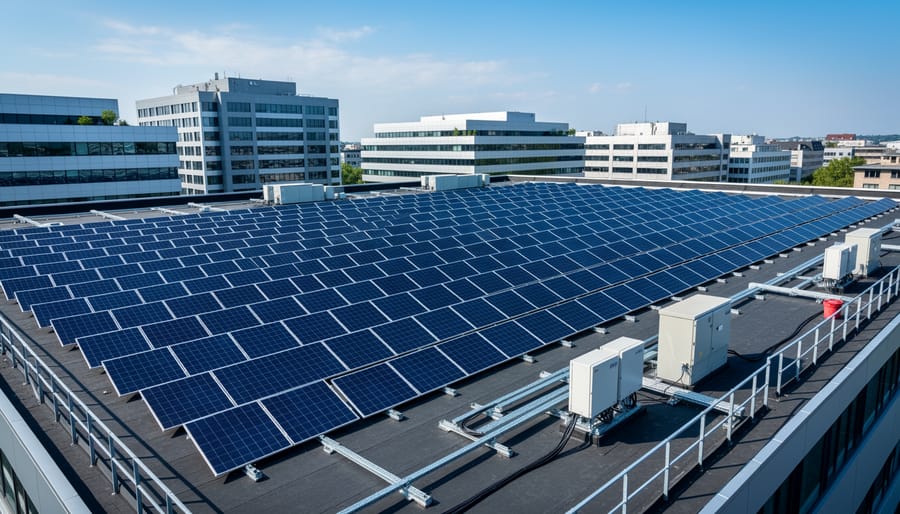
Step 1: Determine Your Annual Energy Consumption
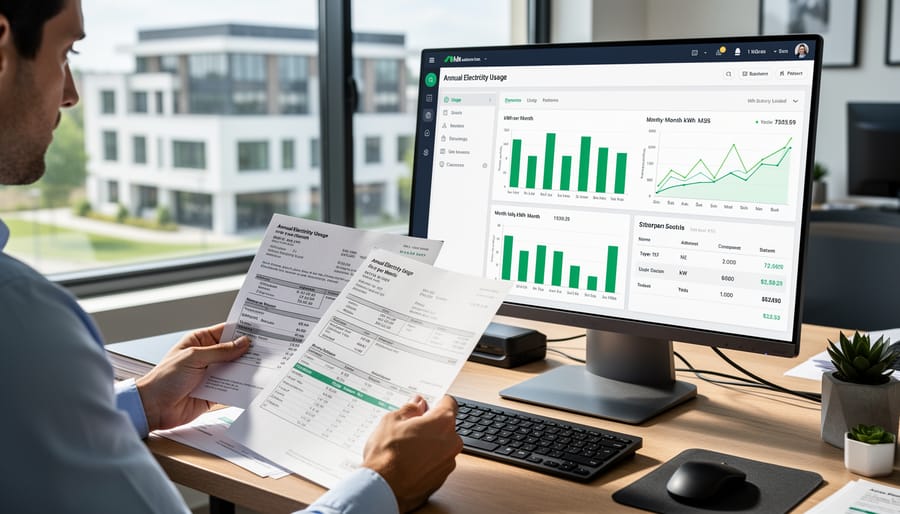
Start by gathering 12 consecutive months of electricity bills from your utility provider. You need a full year because commercial energy consumption fluctuates with seasons, summer air conditioning and winter heating create dramatically different usage patterns that affect solar system sizing.
Look for the total kilowatt-hours (kWh) consumed each month, typically displayed prominently on the first page or in the billing summary section. Add these 12 monthly figures together to get your annual consumption. For example, if your facility uses between 8,000 and 15,000 kWh monthly, your annual total might be 125,000 kWh.
Next, divide your annual total by 365 to calculate average daily consumption. Using the example above, 125,000 kWh divided by 365 equals roughly 342 kWh per day. This daily figure becomes the foundation for sizing your solar system.
Pay attention to your peak demand periods. Commercial facilities often show higher consumption during business hours, with notable spikes when multiple systems run simultaneously. Check if your utility bills include demand charges based on your highest usage interval, usually measured in 15-minute increments. These peaks matter because they indicate when your solar system needs to produce maximum power.
If your business operates seasonally or you’ve recently expanded, standard 12-month bills might not reflect future needs. In these cases, adjust your calculations upward by 10-20% to account for growth and ensure your system handles increased demand.
Step 2: Assess Your Available Solar Installation Space
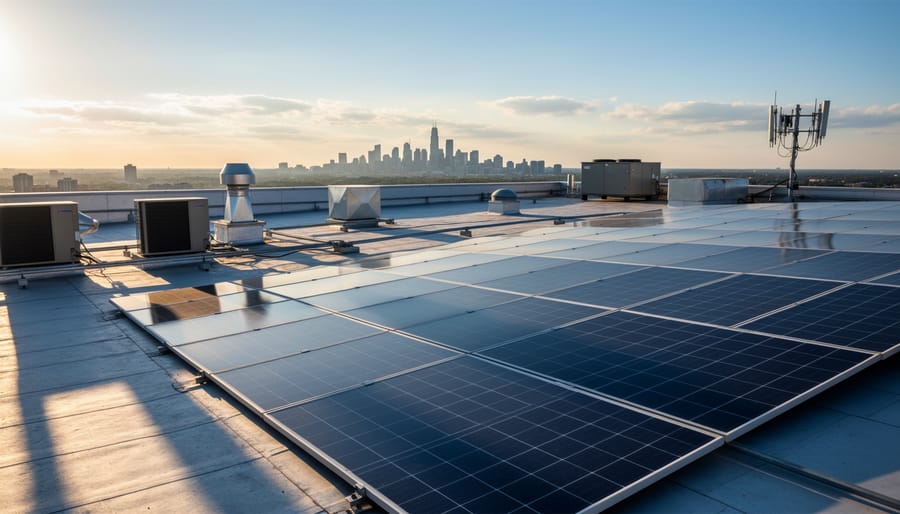
Start by measuring the total square footage of your potential installation area. For rooftop installations, multiply the length by width of each roof section where panels could go. Ground-mounted systems require measuring the designated plot area. Use satellite imagery tools like Google Earth for preliminary estimates, but verify with physical measurements using a measuring tape or laser distance meter for accuracy.
Next, identify and document all obstructions that reduce usable space. HVAC units, exhaust vents, chimneys, skylights, and roof access points must remain accessible and unshaded. Walk the entire roof perimeter and note where these features sit. Subtract their footprint plus a minimum three-foot clearance zone around each obstruction from your total area.
Panel orientation dramatically affects energy production. South-facing surfaces in the Northern Hemisphere capture maximum sunlight year-round. East and west-facing sections work but produce 15-20% less energy. North-facing roofs are typically unsuitable for commercial installations. If your roof runs east-west, you can still mount panels but expect reduced output.
Calculate usable square footage after subtractions. A standard commercial solar panel in 2026 measures approximately 6.5 feet by 3.5 feet, covering about 23 square feet. Add 6-12 inches between panel rows for maintenance access and to prevent shading. This means each panel actually requires 28-30 square feet of space when properly installed. Divide your usable square footage by 28 to estimate maximum panel capacity for your site.
Step 3: Calculate Your Location’s Sun Hours
Your location’s sun exposure directly determines how much electricity your panels can generate. Peak sun hours represent the equivalent hours per day when solar irradiance (sunlight intensity) averages 1,000 watts per square meter, the standard for measuring panel output.
Start with the National Renewable Energy Laboratory’s PVWatts Calculator or similar databases. Enter your zip code or city to find your area’s average daily peak sun hours. Most U.S. commercial locations receive between 3.5 and 6.5 peak sun hours, with southwestern states at the higher end and northern regions lower.
Don’t confuse peak sun hours with total daylight. Phoenix might have 14 hours of daylight in summer but only 6.5 peak sun hours because morning and evening sun lacks the intensity of midday radiation. This distinction matters for power production calculations.
Seasonal variation significantly impacts commercial systems. Compare summer and winter peak sun hours for your location. A building in Seattle might see 5.4 hours in July but only 1.6 in December, requiring careful analysis of whether winter shortfalls matter for your business operations.
Next, assess shading obstacles. Walk your site at different times on a sunny day. Nearby buildings, trees, or equipment that cast shadows during prime sun hours (typically 9 AM to 3 PM) reduce effective peak hours for shaded panel sections. Even partial shading on a few panels can decrease overall system performance. Note which areas receive unobstructed sun throughout the day, as these maximize your calculation accuracy.
Step 4: Determine Required System Size in Kilowatts
Now you have the numbers from Steps 1 through 3, annual consumption, available space, and peak sun hours for your location. The next task is to translate those figures into the actual system size you need, measured in kilowatts.
Start with this straightforward formula: divide your annual kWh consumption by 365 to get daily usage, then divide that result by your location’s peak sun hours. The answer is the kilowatt capacity your system would need under perfect conditions. For example, if your facility uses 73,000 kWh per year in a location with 5 peak sun hours daily, you’d calculate 73,000 ÷ 365 = 200 kWh per day, then 200 ÷ 5 = 40 kW.
That’s not your final number, though. Real-world solar systems don’t operate at 100% efficiency. Dust on panels, inverter losses, wiring resistance, and temperature effects reduce actual output. Commercial installations typically achieve 75 to 85% efficiency, a factor the industry calls the derate or system loss. The PVWatts system losses calculator applies a default 14% loss for most configurations.
To account for these losses, divide your initial kW result by 0.80 (representing 80% efficiency, a middle-ground estimate). Continuing the example:
- Calculate ideal system size: 73,000 kWh ÷ 365 days ÷ 5 peak sun hours = 40 kW
- Adjust for efficiency losses: 40 kW ÷ 0.80 = 50 kW
- Round up slightly for safety margin: 52 kW final system size
This adjusted figure, 52 kW in our example, becomes the target capacity when you select panels and inverters. If your roof space can’t accommodate this size, you’ll need to revisit your expectations or explore ground-mounted arrays.
Step 5: Convert System Size to Number of Panels
Once you know your required system size in kilowatts, the next step is converting that number into actual solar panels. This calculation is straightforward: divide your total system size (in watts) by the wattage of individual panels you plan to use.
The Basic Formula
Number of panels = (System size in kW × 1,000) ÷ Individual panel wattage
For example, if Step 4 determined you need a 75 kW system and you’re using 500W panels: (75 × 1,000) ÷ 500 = 150 panels.
Commercial Panel Ratings in 2026
Most commercial installations use high-efficiency panels ranging from 400W to 550W. The 450-500W range represents the sweet spot for commercial projects, balancing cost, efficiency, and physical dimensions. Higher-wattage panels mean fewer total panels needed, which can reduce installation labor costs and work well for space-constrained roofs.
Accounting for Spacing Requirements
Your calculated panel count represents the minimum number needed. In practice, you’ll need to factor in spacing for maintenance access, roof penetrations, and optimal airflow. Commercial installations typically require 12-18 inches between panel rows and adequate perimeter clearance for fire code compliance.
Adjusting for Space Constraints
If your available roof area from Step 2 can’t physically accommodate the calculated number of panels, you have three options: upgrade to higher-wattage panels to reduce panel count, consider a ground-mount system for additional capacity, or accept a smaller system that offsets a portion of your energy needs rather than 100%.
How to Verify Your Calculations and Plan Next Steps
After completing your calculations, verify your results against multiple sources to confirm accuracy. Input your facility’s data into at least two independent online solar calculators from reputable providers. Most calculators will show system size recommendations within 10-15% of each other, and significant discrepancies suggest you should review your consumption data or sun hour figures.
Compare your calculations with documented installations at similar-sized commercial buildings in your area. Industry case studies and local solar provider portfolios often include system size, facility square footage, and annual energy production. If a 20,000-square-foot warehouse with comparable energy use installed a 150kW system and your calculations suggest 80kW or 250kW for a similar building, revisit your math or consider factors like their energy efficiency upgrades or unique operational hours.
Request a professional site evaluation once your preliminary calculations show solar potential for your business. Sun Power Solutions conducts comprehensive assessments that include structural roof analysis, electrical system review, precise shading studies using specialized equipment, and detailed production modeling. Professional evaluations catch issues DIY calculations miss, like roof load capacity limits, electrical panel upgrade requirements, or optimal panel placement for maximum output.
During a professional assessment, your calculations transform into actionable cost estimates. Installers use your energy profile to model system performance across all seasons, project annual production in kWh, and calculate what this what it means for your utility bills. They factor in current electricity rates, projected rate increases, and system degradation over 25-30 years to provide accurate ROI timelines.
The transition from calculation to installation planning involves financial structuring. Professional assessments identify available federal tax credits, state incentives, and accelerated depreciation benefits that significantly impact your net cost. Many commercial systems pay for themselves within five to eight years when incentives are maximized. Financing options including solar loans, power purchase agreements, and equipment leases alter system design decisions, as different financial structures optimize for either maximum production or lowest upfront cost. Your calculations establish feasibility, but professional guidance ensures you select the financing and system configuration that best serves your business goals.
Common Questions About Calculating Commercial Solar Energy
What if my energy needs vary significantly by season?
Calculate your system size based on annual average consumption rather than peak seasonal demand. Most commercial facilities see higher summer usage due to air conditioning, so your system may overproduce in spring and fall while offsetting higher bills during peak months. Any excess energy typically feeds back to the grid through net metering programs, providing credits that balance out seasonal variations.
How accurate are DIY calculations versus professional assessments?
DIY calculations typically get you within 15-20% of actual system requirements, which is sufficient for preliminary budgeting and feasibility planning. Professional assessments account for variables like roof pitch angles, electrical panel capacity, micro-shading patterns throughout the day, and local utility rate structures that significantly impact final system design and ROI for businesses. Think of your calculation as the starting point, not the final answer.
Can I calculate solar needs for multiple buildings on one property?
Yes, but calculate each building separately first, then determine whether separate systems or one large interconnected array makes more sense. The decision depends on roof conditions, electrical infrastructure, and whether buildings share a utility meter. Multiple smaller systems offer installation flexibility, while a single larger system often provides better economies of scale.
How do I account for future business growth in my calculations?
Add 20-30% buffer capacity to your current consumption figures if you anticipate expansion within five years. You can also design your system with space for additional panels later, or install slightly oversized electrical components (inverters and disconnects) that accommodate future expansion without replacement. This approach costs less than upgrading the entire system down the road.
If your roof space falls short of your energy requirements, ground-mounted systems or carport solar structures provide alternatives that often deliver better performance due to optimal tilt angles. Some businesses split installations between rooftop and ground arrays, or prioritize high-efficiency panels that produce more power per square foot. You might also consider energy efficiency improvements first to reduce overall demand before sizing your system.
“I spent weeks trying to figure out our solar needs using online calculators and got frustrated with conflicting results,” says Marcus Chen, owner of Riverside Manufacturing. “Sun Power Solutions came out, confirmed my basic calculations were in the right ballpark, then showed me how our three-phase power and afternoon shading would actually require a different panel configuration than I’d planned. Their professional assessment caught details I’d never have found on my own, and we’ve been generating 92% of our electricity for eighteen months now.”
